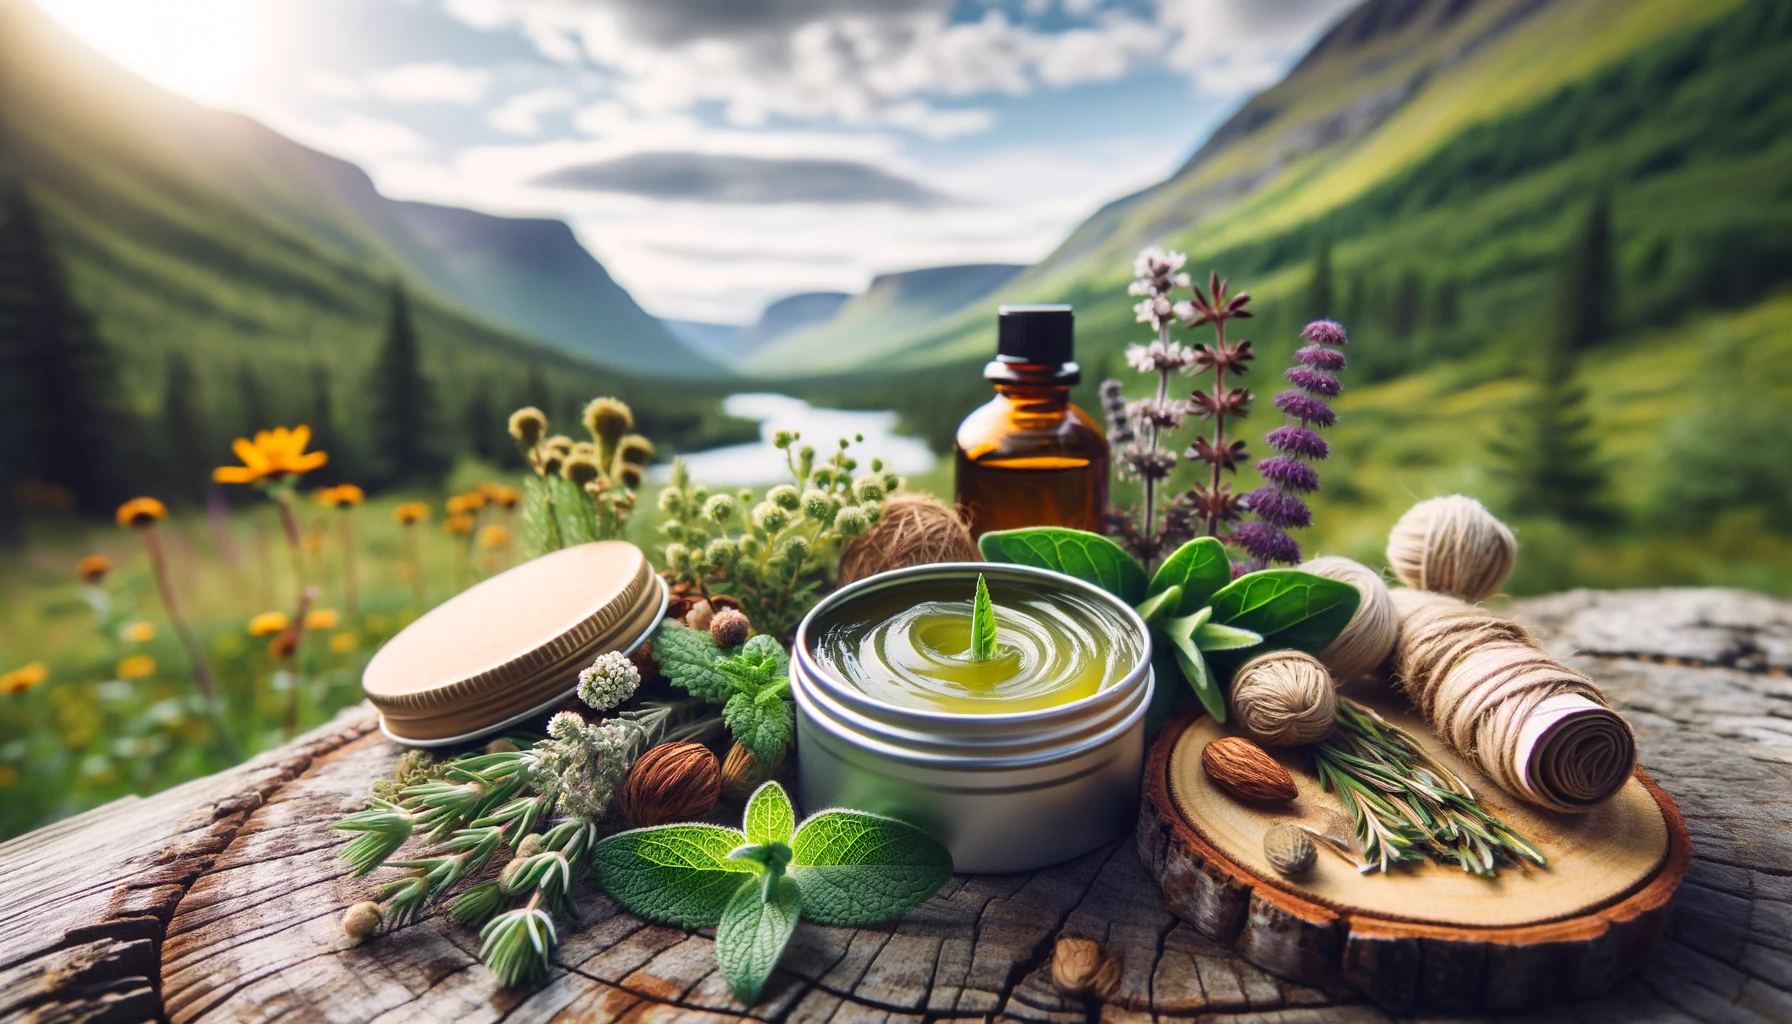
Embarking on outdoor adventures exposes you to the beauty of nature, but also to its challenges, such as minor injuries or skin irritations. Preparedness is key, and what better way to equip yourself than with a DIY herbal first aid salve? These natural remedies are not only effective but also gentle on your skin and easy to make. Let’s dive into the art of crafting your very own herbal salve, perfect for any backpack or first aid kit.
Understanding Herbal Salves
Herbal salves have been used for centuries as a fundamental component of natural medicine. They are thickened ointments made from oils infused with herbs and are perfect for topical application, providing relief and speeding up the healing process for a variety of skin ailments.
Benefits:
- Natural Ingredients: Free from synthetic chemicals, herbal salves use natural ingredients that are gentle on the skin.
- Customizable: Tailor your salve using herbs that best address your specific health needs.
- Cost-Effective: Making your own salves can be significantly cheaper than buying commercial products.
Essential Ingredients and Tools
To start, you’ll need a few key ingredients:
- Carrier Oils: Olive oil, coconut oil, or almond oil serve as the base that carries the medicinal properties of the herbs.
- Medicinal Herbs: Common choices include calendula for its healing properties, lavender for its soothing effects, and tea tree for its antiseptic qualities.
- Beeswax: This acts as a thickening agent, giving the salve its consistency.
Tools:
- Double Boiler: For gently heating the oil and beeswax.
- Strainer or Cheesecloth: To filter out herb particles after infusion.
- Clean Jars or Tins: For storage.
Step-by-Step Guide to Making Herbal Salves
Step 1: Infusing the Oil
Combine your chosen dried herbs with your carrier oil in a double boiler and gently heat the mixture for 2 to 3 hours. This slow infusion pulls the active compounds out of the herbs into the oil.
Step 2: Straining the Herbs
Once the oil is infused, strain the mixture through a cheesecloth or fine mesh to remove any herb particles. Ensure the oil is clear to prevent any gritty texture in your salve.
Step 3: Mixing with Beeswax
Return the infused oil to the double boiler and add beeswax. Heat until the beeswax melts, stirring constantly to ensure a uniform mixture.
Step 4: Adding Essential Oils
After removing the mixture from heat, you can optionally add essential oils for additional therapeutic benefits and a pleasant aroma.
Step 5: Cooling and Storing
Pour the liquid salve into clean jars or tins. Let it cool and solidify before sealing. Store in a cool, dry place.
Practical Uses
Your DIY herbal salve is not just a versatile addition to your first aid kit; it’s also effective for:
- Cuts and Scrapes: Accelerates healing and prevents infection.
- Bug Bites: Relieves itching and reduces swelling.
- Skin Irritations: Soothes rashes and allergic reactions.
Safety and Precautions
While herbal salves are generally safe, it’s crucial to:
- Patch Test: Always do a patch test to check for allergic reactions.
- Consult Professionals: Consult with a healthcare provider if you have ongoing medical conditions or concerns.
Conclusion
Creating your own herbal first aid salve is both a craft and a valuable skill for anyone who loves the outdoors. These salves not only soothe wounds but also connect you with the healing powers of nature. Equip your kit with a jar of homemade salve and embrace your next adventure with confidence.


